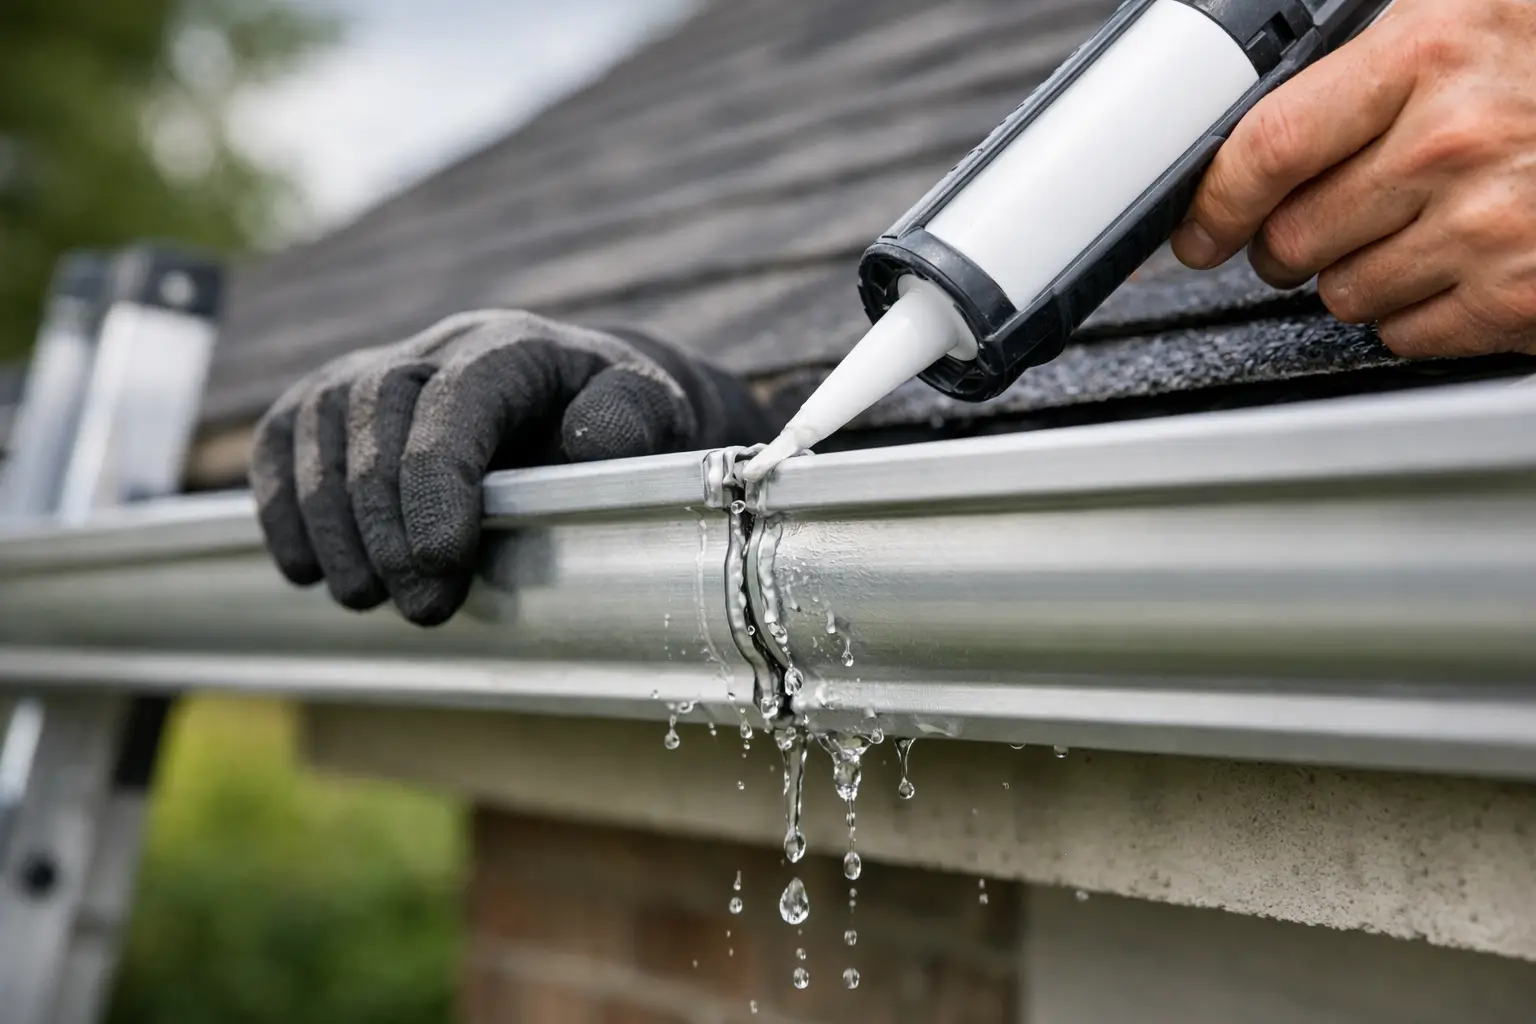
How to Seal Gutter Joints That Keep Leaking
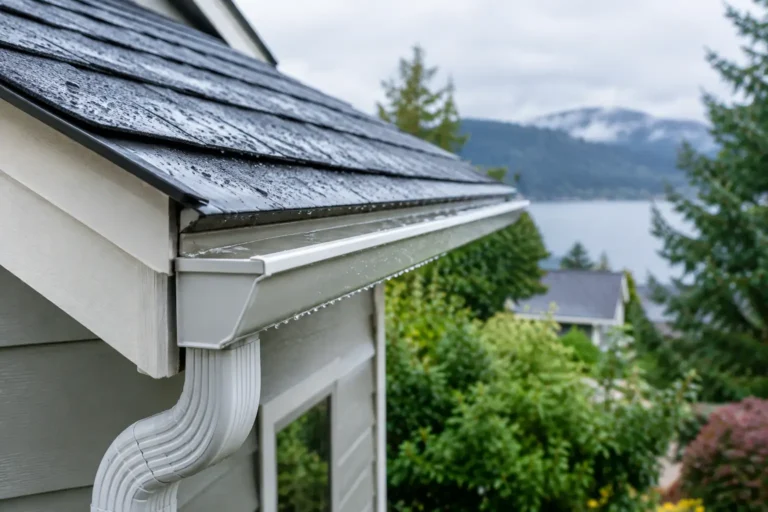
A drip from a gutter seam can look minor until it lands beside your foundation, splashes siding, or creates a muddy trench below the roofline. In the Pacific Northwest, where long wet stretches expose every weak point, knowing how to seal gutter joints properly can prevent a small leak from becoming recurring water damage.
The repair itself is usually straightforward. The part homeowners often miss is preparation. Sealant will not adhere well to wet aluminum, old failing caulk, roof grit, or a joint that is pulling apart because the gutter is not properly supported. Fix the cause first, then seal the joint with the right material.
Find the actual source of the gutter leak
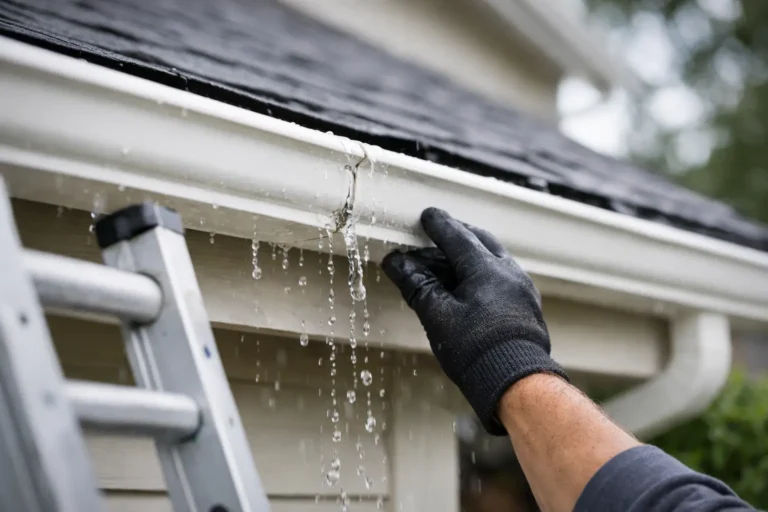
Water does not always leak where it appears to drip. It can travel along the underside of the gutter or behind the fascia before falling. Start by looking for water stains, dark streaks, separated seams, or old sealant that is cracked, brittle, or peeling away.
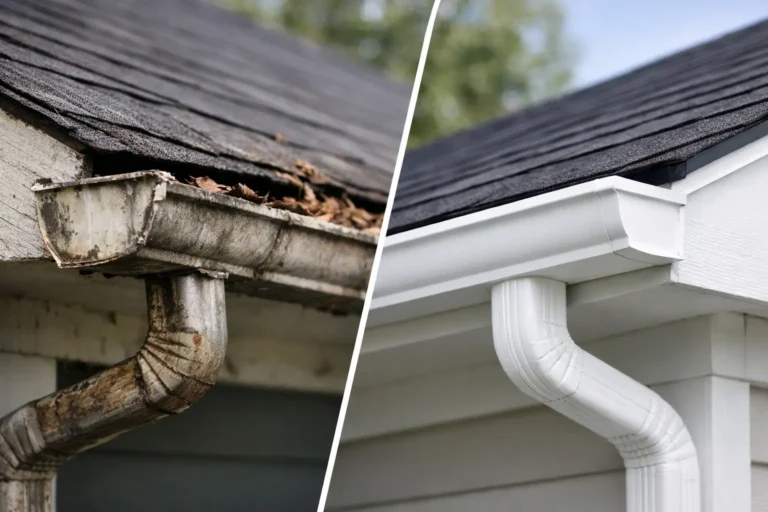
The most common trouble spots are end caps, outlet connections above downspouts, mitered corner joints, and seams where two gutter sections overlap. For sectional gutters, every connection is a potential leak point. Seamless aluminum gutters reduce the number of joints along a run, but they still have end caps, corners, and outlets that need to stay sealed.
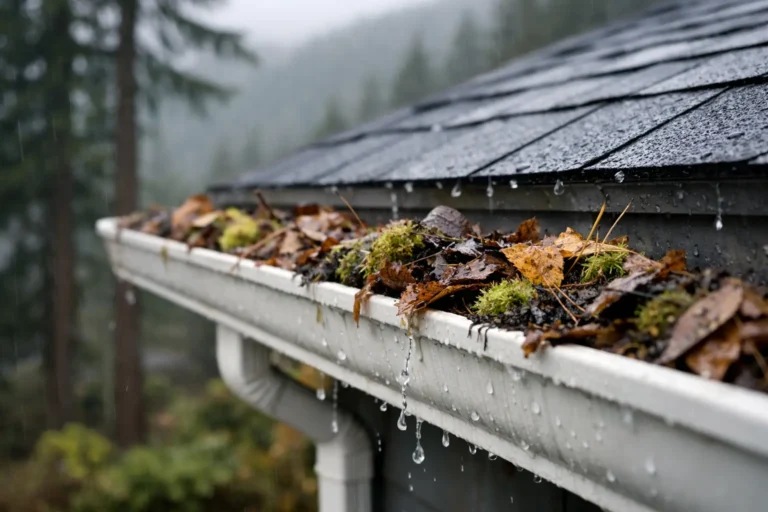
If the gutter is overflowing during rain, do not assume the joint is the problem. A blocked downspout, packed-in fir needles, or a gutter pitched away from the outlet can force water over the edge and make it look like a seam failure. Clean the gutter and downspout before deciding where to apply sealant.
What you need to seal gutter joints
Use a sealant made specifically for gutters, flashing, or exterior metal. A high-quality tripolymer or butyl-based gutter sealant is generally a dependable choice because it remains flexible as aluminum expands and contracts through changing temperatures. It should be rated for wet-weather exposure and compatible with aluminum.
Avoid treating ordinary interior caulk as a permanent gutter repair. It can dry out, lose adhesion, and crack under constant rain, sun, and movement. Silicone can work in limited situations, but many homeowners find gutter-specific sealants easier to apply and more reliable for aluminum seams.
For a typical repair, gather a stiff brush, rags, a putty knife or scraper, gloves, a utility knife, a caulk gun, gutter sealant, and a hose for testing. If you are working from a ladder, use a stable ladder on level ground and have another person nearby. Wet roofs and ladders are not worth the risk.
How to seal gutter joints step by step
Choose a dry day whenever possible. The gutter does not need to be spotless, but the repair area must be dry and free of loose debris. In Southwest Washington and the Portland metro area, that may mean waiting for a clear window rather than trying to repair a seam in the middle of a rainy week.
Clean away old sealant and debris
Remove leaves, shingle grit, moss, and standing water from the gutter. Then scrape out loose, cracked, or peeling sealant from the failed joint. You do not always need to remove every trace of old material, but anything that is no longer firmly bonded should come out.
Brush the area thoroughly and wipe it clean with a rag. Pay attention to the inside of the seam, where debris can trap moisture and prevent a good bond. Let the joint dry completely before moving on.
Check that the joint is secure
Before applying new sealant, inspect the physical connection. An end cap or corner that has separated, bent, or loosened will keep moving and may leak again even after sealing. Refasten the joint if needed, using fasteners appropriate for aluminum gutters.
Also look at the gutter hangers near the leak. If the gutter is sagging, water can pool at the seam and put extra stress on it. A properly supported gutter should maintain its slope toward the downspout without pulling away from the fascia.
Apply sealant inside the joint
Cut the sealant tube tip to create a small opening. A narrow, controlled bead is better than a thick mess that is difficult to smooth. Apply the sealant on the inside of the gutter, following the entire seam or the full edge of the end cap or outlet connection.
Press sealant into gaps rather than simply laying it across the surface. Then smooth it with a gloved finger or a small finishing tool so the bead fully covers the joint edges. The goal is a continuous flexible barrier with no pinholes or skipped sections.
For a leaking outlet, seal around the connection where the outlet meets the gutter bottom. For a corner miter, run the bead along the inside seam on both sides of the corner. For an end cap, seal all edges where the cap meets the gutter.
Let it cure before testing
Check the product label for curing time. Some sealants can handle moisture sooner than others, but a repair has the best chance of lasting when it is allowed to cure under dry conditions. Do not fill the gutter with water immediately if the label says to wait.
Once cured, run a hose into the gutter upstream of the repair. Use a steady flow that lets water travel naturally toward the downspout. Inspect the outside and underside of the joint for drips. If water still appears, look for a second crack, a separated connection, or an overflow problem higher in the system.
Why gutter joints fail in the Pacific Northwest
Heavy rain does not usually cause a healthy gutter seam to fail on its own. More often, it exposes an existing installation or maintenance issue. Evergreen debris is a major factor locally. Pine and fir needles can settle into corners and outlets, hold moisture against the metal, and create standing water at a joint.
Roof grit is another common issue, especially on aging composite roofs. It accumulates beneath debris, creating a gritty layer that keeps sealant from bonding during a rushed repair. Seasonal expansion and contraction also matter. Aluminum moves slightly, and a rigid or low-quality caulk bead can eventually split.
Gutter movement is the concern that deserves the closest attention. If hidden hangers are spaced poorly, the fascia is deteriorated, or a long gutter run has the wrong pitch, the system can sag and strain at its connections. Sealant is a repair material, not a substitute for correcting poor support or drainage.
When sealing is not enough
A fresh bead of quality sealant is appropriate for a sound gutter with a localized failed seam. It is not the right answer when the aluminum is badly corroded, the gutter has multiple leaking joints, or the system repeatedly overflows because it is undersized or improperly pitched.
You should also consider professional help if you see water behind the gutter, soft fascia boards, stains on siding, loose hangers, or downspouts that cannot keep up with normal rain. Those signs may point to an installation issue beyond the joint itself.
For homes with frequent needle buildup, a gutter guard can reduce the debris that collects at corners and outlets. Not every guard performs the same in wet, evergreen-heavy areas. Fine stainless steel micro-mesh systems are designed to keep out small debris while allowing water into the gutter, but the installation details still matter. The gutter must be properly sloped, securely hung, and sized for the roof runoff it receives.
NW Gutter Protection regularly sees leaking seams that started as a simple maintenance issue but became worse because water was allowed to pool, overflow, or work behind the gutter. A direct inspection is often the fastest way to determine whether a careful reseal will solve the problem or whether the gutter system needs correction.
A repair that should stay repaired
Check gutter joints at least twice a year and after major windstorms. Focus on corners, end caps, and downspout outlets, especially beneath trees. Catching a thin crack early is far easier than repairing fascia damage or dealing with water near the foundation later.
A clean, dry, well-supported joint sealed with a flexible gutter-rated product can hold up well through Northwest rain. If the same seam keeps failing, take that as useful information: the gutter is telling you to look beyond the sealant and address the drainage, support, or debris problem behind it.