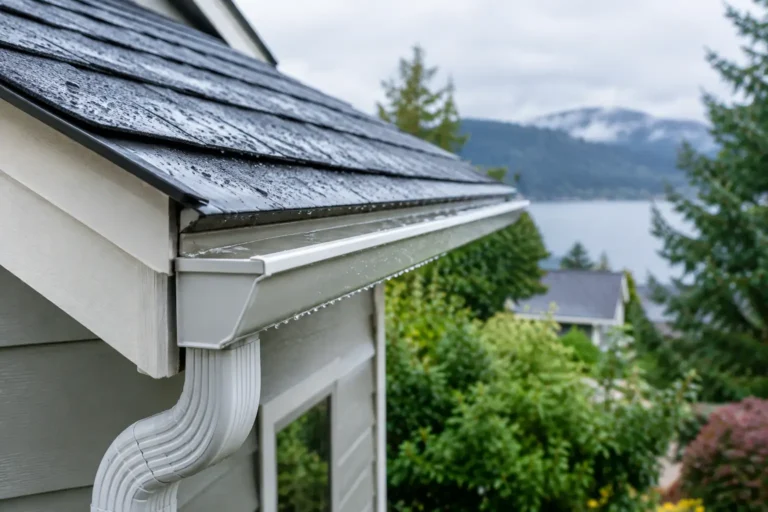

What Happens in a One Day Gutter Installation Process
A hard Pacific Northwest rain has a way of showing where a gutter system is failing. Water spills over the edge near the front walk, shoots past a short downspout, or runs behind the gutter and stains the fascia. When that happens, homeowners understandably want the problem handled quickly, but not rushed. A one day gutter installation process is designed to do both: replace or upgrade the system efficiently while still giving the roofline, drainage, and mounting details the attention they require.
For many homes in Southwest Washington and the Portland metro, new gutters and gutter protection can be installed in a single workday. The key is preparation, custom measurements, and an experienced crew that understands how heavy rain, fir needles, roof grit, and wet seasons affect the finished system.
Before the One Day Gutter Installation Process Begins
A successful installation day starts before the truck arrives. During the estimate, the contractor should inspect the existing gutters, roof edges, fascia boards, drainage paths, and areas where water currently overflows. Measurements are taken for each run, along with the locations of corners, outlets, and downspouts.
This is also when the practical decisions get made. A long rear gutter run may need more than one downspout. A low area near a foundation may need water directed farther away. If the home is surrounded by evergreens, the gutter guard profile and mesh size matter just as much as the gutter itself.
For a typical project, continuous aluminum gutters are formed to the home’s measurements rather than assembled from short store-bought sections. That reduces unnecessary joints, which are common leak points over time. Color, downspout size, and guard options should be settled before installation day so the crew can stay focused on the work.
A one-day timeline depends on the condition of the home. If fascia is rotted, roof edge flashing needs correction, or access is unusually difficult, additional work may be needed before new gutters can be securely installed. A reputable contractor should explain that upfront instead of covering a problem and hoping it stays hidden.
Arrival, Setup, and Protection of the Property
Installation crews generally begin by confirming the scope of work with the homeowner and walking the property. This is a good time to point out buried utility locations, sensitive landscaping, gates that need to stay closed, or parking considerations.
The crew then stages ladders, tools, coil stock, and debris containers without blocking access more than necessary. Driveways, walkways, decks, and planting areas should be treated with care throughout the job. Removing old gutters creates sharp metal scraps, screws, spikes, and accumulated debris, so keeping the work area organized is more than a courtesy. It is part of a safe jobsite.
Homeowners usually do not need to be home every minute, but they should be reachable for questions. If a crew finds unexpected fascia damage or a drainage issue that changes the plan, clear communication matters. No one wants a surprise added to the invoice after the work is complete.
Removing Old Gutters and Checking the Roofline
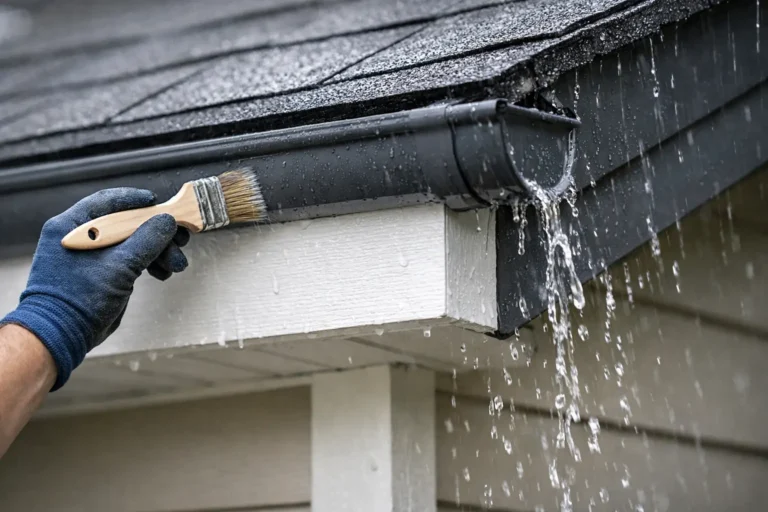
The old gutter system comes down carefully, including outdated spikes, loose brackets, failing sealant, and downspouts that no longer carry water where it should go. This step often reveals the reason the previous system struggled.
Older gutters may sag because they were fastened with long spikes that loosened over time. They may have been installed too flat, causing standing water and debris buildup. In some cases, overflowing water has already damaged fascia paint or softened a section of wood. The crew should inspect the exposed roofline before covering it with a new system.
Minor cleanup at the mounting surface is normal. Significant wood repair is a separate issue and can affect whether the full installation is completed that day. It is better to correct a weak attachment point than to install a strong gutter onto failing material.
Custom Forming and Installing the New Gutters
Once the roofline is ready, the new gutter runs are formed to fit the measured lengths. Each run is cut, end caps and outlets are prepared, and the system is laid out to support proper water movement. The work is precise because even a well-made gutter can perform poorly if it is pitched incorrectly or placed too high or too low against the roof edge.
The installer sets a controlled slope toward each outlet. The slope is subtle, but it allows water to move without leaving excessive standing water in the trough. On a long run, the best drainage design may slope from the center toward outlets at both ends. It depends on the roof layout and where downspouts can discharge safely.
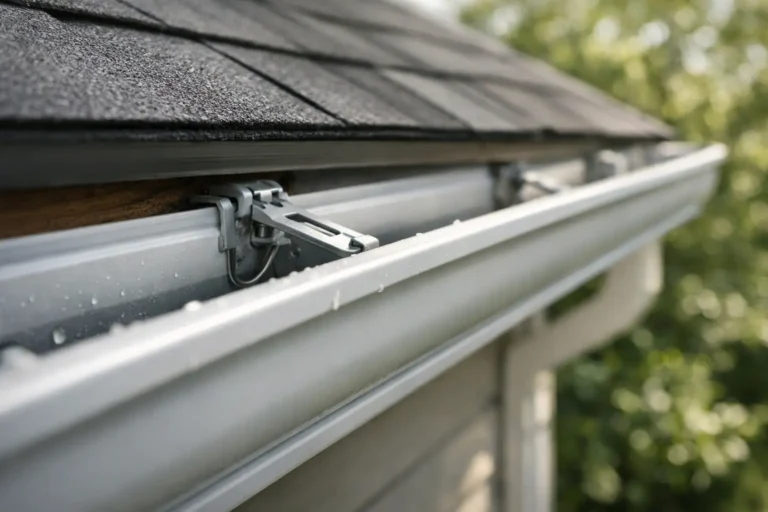
Strong hidden hangers are then installed at close intervals to hold the gutter firmly against the fascia. This is especially important in the Pacific Northwest, where gutters carry substantial water weight during prolonged rain and can collect heavy wet debris if maintenance is delayed. Proper hanger spacing helps prevent sagging, pulling, and the uneven drainage that follows.
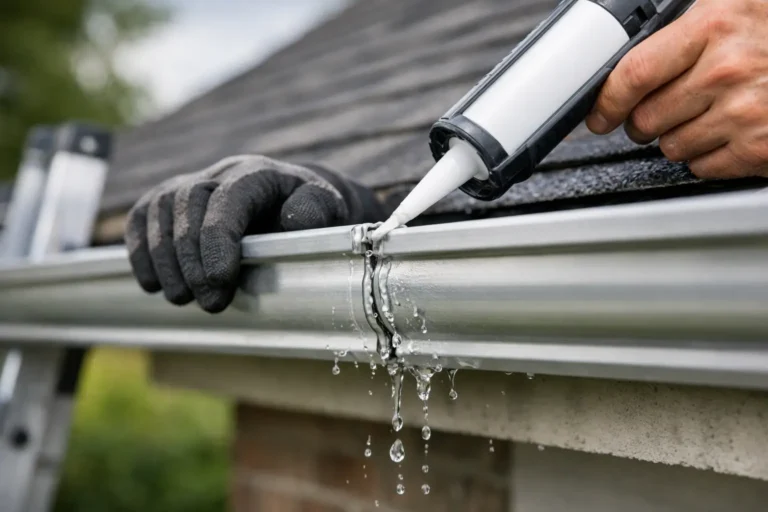
Corners, outlets, and end caps are sealed as needed. These connection points deserve careful workmanship because they handle concentrated water flow. The goal is not simply to make the gutter look straight from the street. It needs to remain secure and direct water correctly through years of weather changes.
Downspouts Are Where Drainage Becomes Real
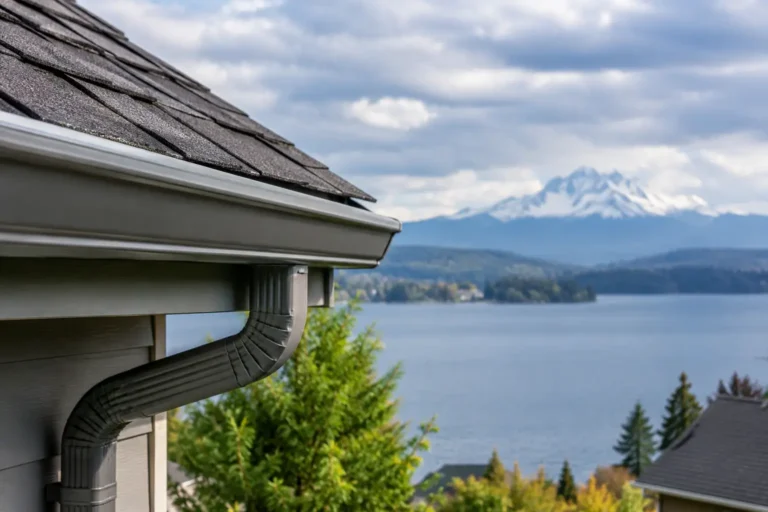
A gutter can collect water well and still fail the home if the downspouts are undersized, poorly located, or left to discharge beside the foundation. During installation, downspouts are fitted to the outlets, fastened securely, and routed along the exterior in a clean, practical path.
The right downspout plan depends on roof area, gutter length, grade, and available drainage routes. Larger roof sections may require larger downspouts or additional outlets to prevent backups during a downpour. In tight side yards, the crew may need to balance effective drainage with a layout that does not interfere with gates, walkways, or exterior equipment.
Extensions or other drainage solutions can be discussed where water needs to move farther away from the house. This is worth getting right. Repeated water saturation near a foundation, crawlspace, or landscaped slope is a problem that gutters are meant to reduce, not relocate.
Adding Gutter Guards for Needle and Roof Grit Control
If gutter guards are part of the project, they are installed after the gutter system is secured and checked. For homes beneath firs, pines, and other dense tree cover, a guard needs to manage fine evergreen debris as well as larger leaves. Wide openings can allow needles into the gutter. Poorly designed covers can shed water over the edge in heavy rain.
Premium stainless steel micro-mesh guards are built to keep debris out while allowing water to enter the gutter. Installation details still matter. The guard should be fitted securely, support the roofline correctly, and avoid creating a weak point that can shift under wet debris or wind exposure.
A guard does not mean a home will never need exterior maintenance again. Roof valleys can still collect debris, and moss or heavy buildup should be addressed before it finds its way toward the gutter edge. What a quality guard can do is greatly reduce the recurring gutter cleaning and clogging that lead to overflows.
Final Inspection, Cleanup, and What to Expect Afterward
Before leaving, the crew should inspect the system from the ground and roofline, verify that downspouts are secure, and clean up all removed material. A water-flow check may be performed where conditions allow, particularly at outlets, corners, and downspout connections. The homeowner should receive a clear explanation of the work completed, any care recommendations, and applicable warranty information.
At NW Gutter Protection, the goal is not to turn a one-day installation into a high-pressure event. It is to leave homeowners with a system built for local rain and debris conditions, installed correctly the first time.
After the job, take a look at the gutters during the next steady rainfall. Water should enter the system, move toward the downspouts, and discharge away from the home without spilling over the front edge. If something does not look right, address it early. A dependable contractor should stand behind the work and be available when you have a question.
The best time to replace failing gutters is before the next long stretch of rain turns a manageable drainage issue into damaged siding, fascia, or soil around the foundation. A careful site evaluation can tell you whether your home is a good fit for a one-day project and what it will take to keep water moving where it belongs.